
How to Use Claude Code ( +Tips and Shortcuts )
How to Use Claude Code ( +Tips and Shortcuts )
AI coding assistants have become a part of daily developer life. From GitHub Copilot to Cursor and Windsurf, tools promise to speed up development, automate repetitive work, and help navigate large codebases.
But among all of them, Claude Code, built by Anthropic, is quickly earning a reputation as the most powerful, reliable, and cost-effective AI coding companion.
If you’re curious about how to use Claude Code, this guide will walk you through everything: setup, slash commands, productivity tricks, advanced features, and comparisons with alternatives. By the end, you’ll be ready to integrate Claude Code into your workflow like a pro.
What is Claude Code?
Claude Code is Anthropic’s AI-powered coding assistant designed to run inside your IDE as a terminal-based agent. While many developers are already familiar with GitHub Copilot or Cursor, Claude Code takes a different approach: it’s built to act like a smart teammate that can navigate, edit, and manage your codebase with more reliability and depth than autocomplete-focused tools.
At its core, Claude Code is powered by Anthropic’s latest language models — Claude 3 Opus and Claude 3.5 Sonnet — which are widely regarded as some of the best reasoning models available in 2025. This gives it an edge over alternatives because the coding agent is developed directly by the team that builds the underlying models. That means Anthropic can tune Claude Code specifically to leverage its models’ strengths, instead of layering third-party tooling on top.
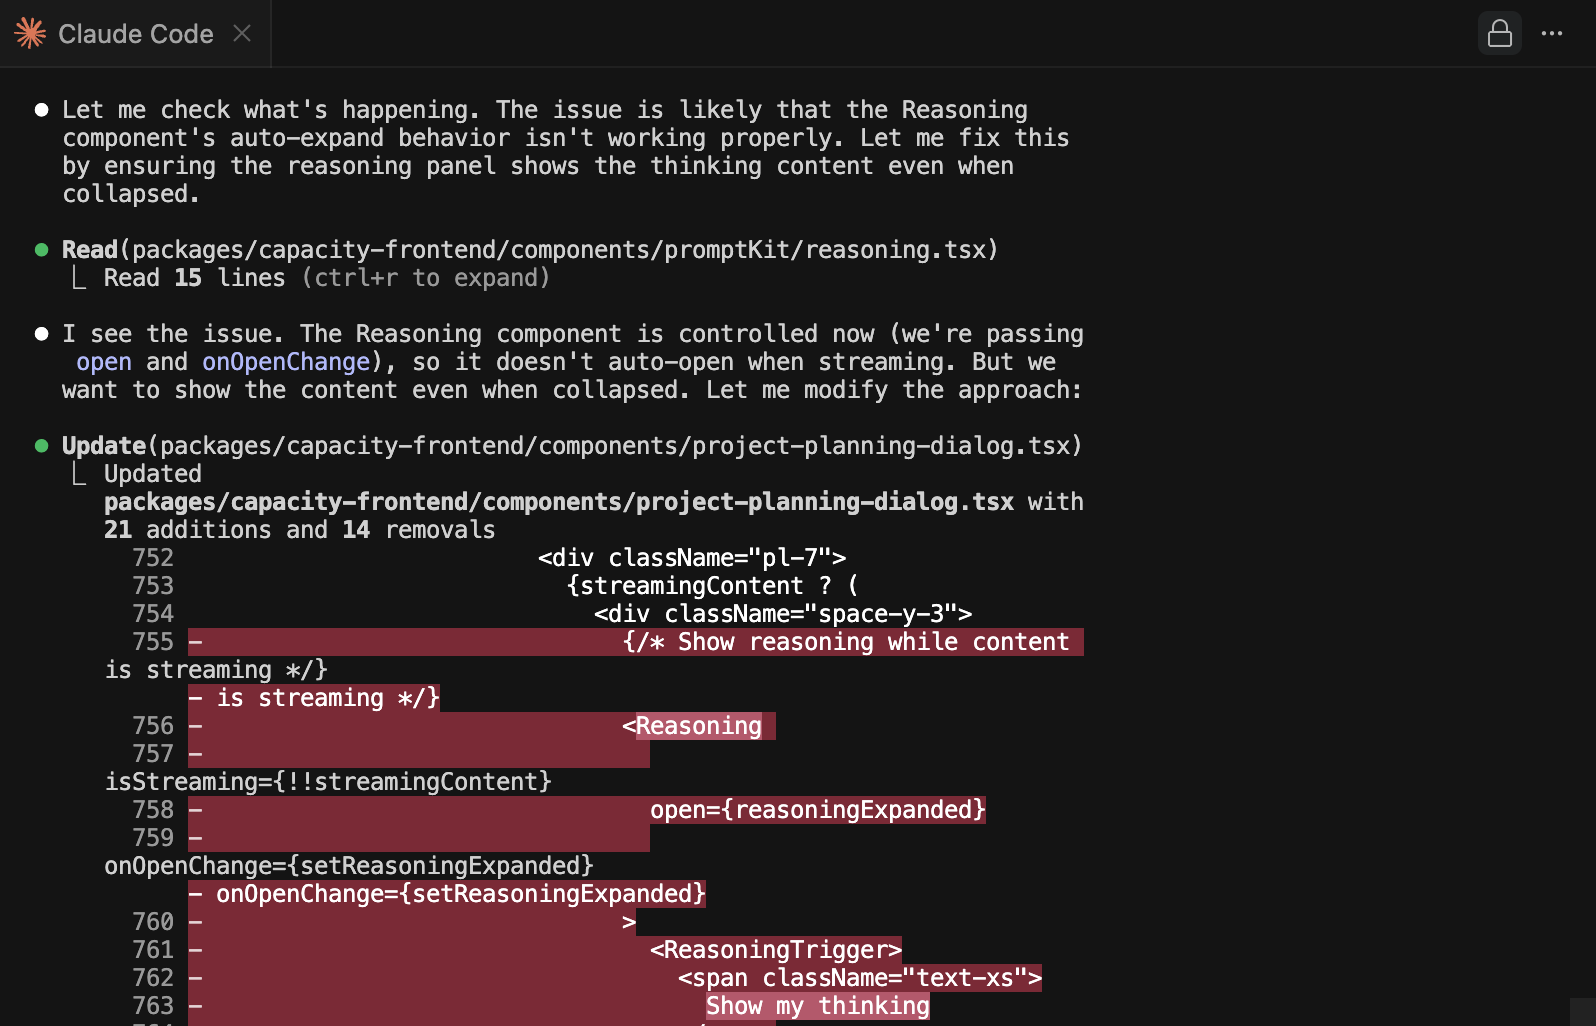
Unlike Copilot, which works mainly through inline completions, or Cursor, which provides a chat sidebar, Claude Code runs in a terminal user interface (TUI). This might sound intimidating at first, but in practice, it offers several advantages:
- Full project awareness: Claude doesn’t just guess based on the few lines you’re typing. It can reason about multiple files, entire components, and complex dependencies.
- Handles massive codebases: Developers have reported Claude Code editing files as large as 18,000+ lines without crashing, something most AI agents struggle with.
- Precise control: Through slash commands like
/model,/clear, and/resume, you can dictate exactly how the assistant behaves, which files to include, and when to reset context. - File-level context with
@mentions: You can reference files directly by typing@filename.js, and Claude instantly loads them into context.
What makes Claude Code especially unique is its focus on reliability. Where other tools might get stuck rewriting entire files or failing to apply a patch, Claude Code applies changes with accuracy, reviews pull requests intelligently, and even integrates smoothly into GitHub workflows.
In short, Claude Code isn’t just another autocomplete plugin. It’s a full-fledged AI coding agent that brings together large-file editing, advanced reasoning, customizable memory, and automation — making it one of the most powerful coding companions available today.
Installing and Setting Up Claude Code
Getting started with Claude Code takes just a few steps. Unlike some cloud-based tools, Claude Code is designed to run inside your IDE, which means you’ll need to install it locally and initialize it for your project. Here’s how to do it:
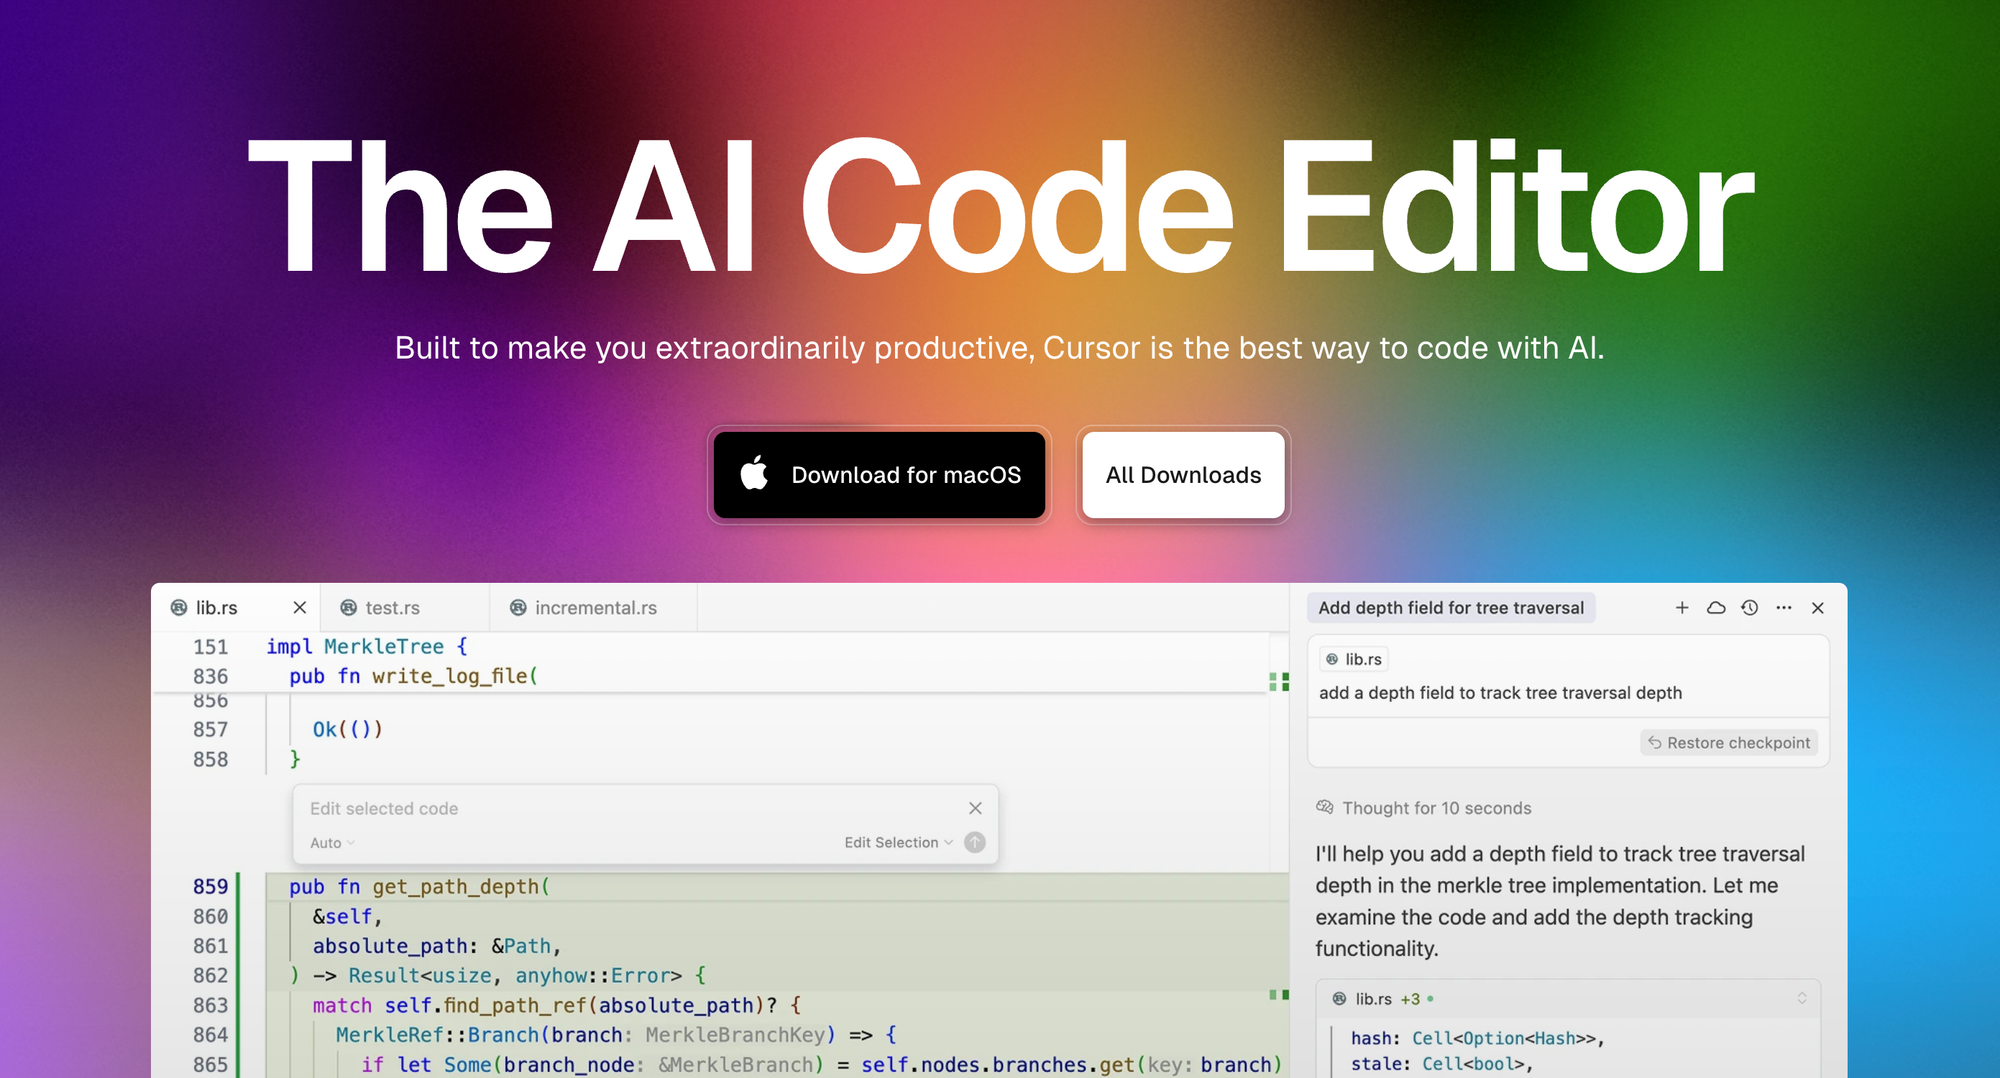
1. Install Cursor
Claude Code is optimized to run in Cursor, a fork of VS Code built for AI-assisted development.
If you don’t already have it:
- Download Cursor from cursor.sh.
- Install it just like you would install VS Code.
- Open your project inside Cursor.
Claude Code also works with VS Code, Windsurf, and VSCodium, but Cursor provides the smoothest experience today.
2. Install Claude Code
Next, install the Claude Code tool itself. You can do this in two ways:
Option A: Using the installer (recommended), open a terminal on Cursor and run :
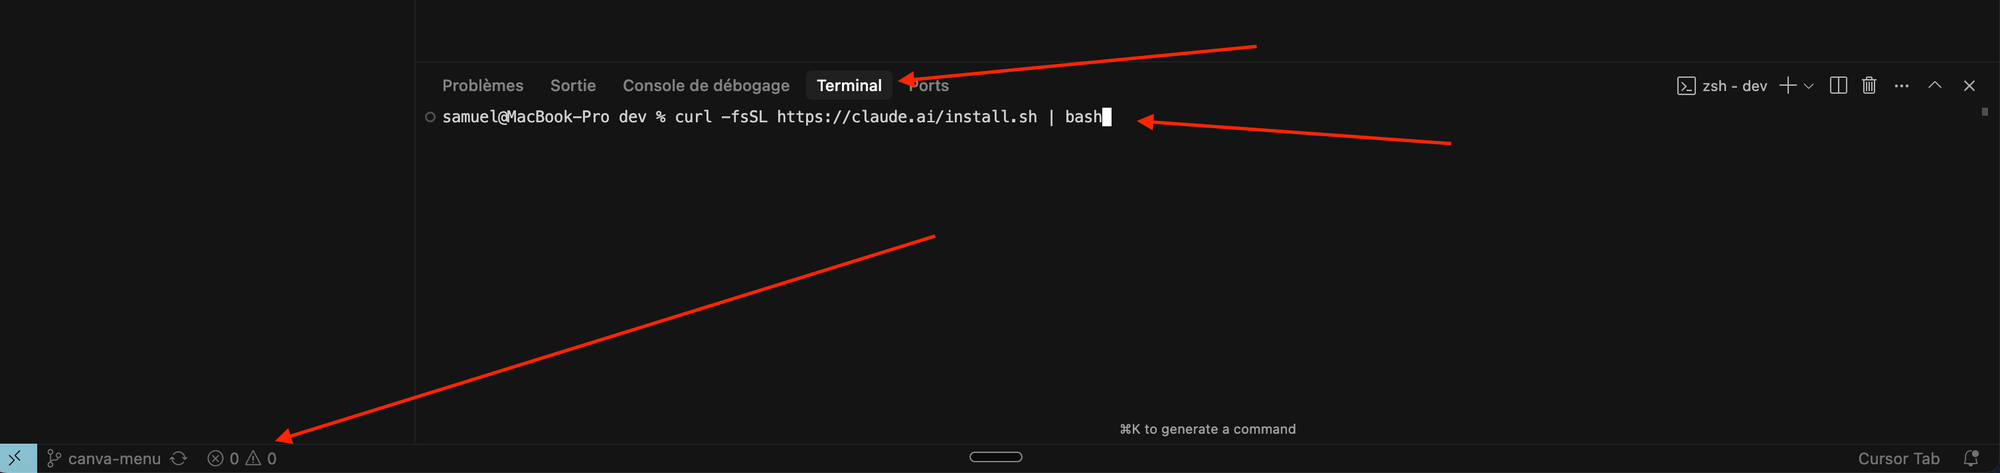
curl -fsSL https://claude.ai/install.sh | bash
This script installs the latest version globally on your system.
Option B: Using npm
npm install -g @anthropic-ai/claude-code
Either method works — pick whichever fits your setup best.
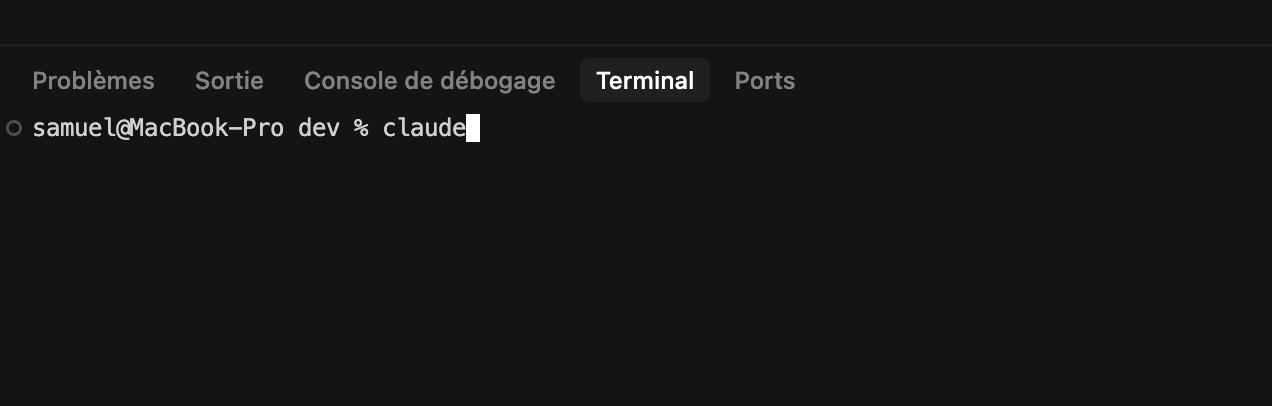
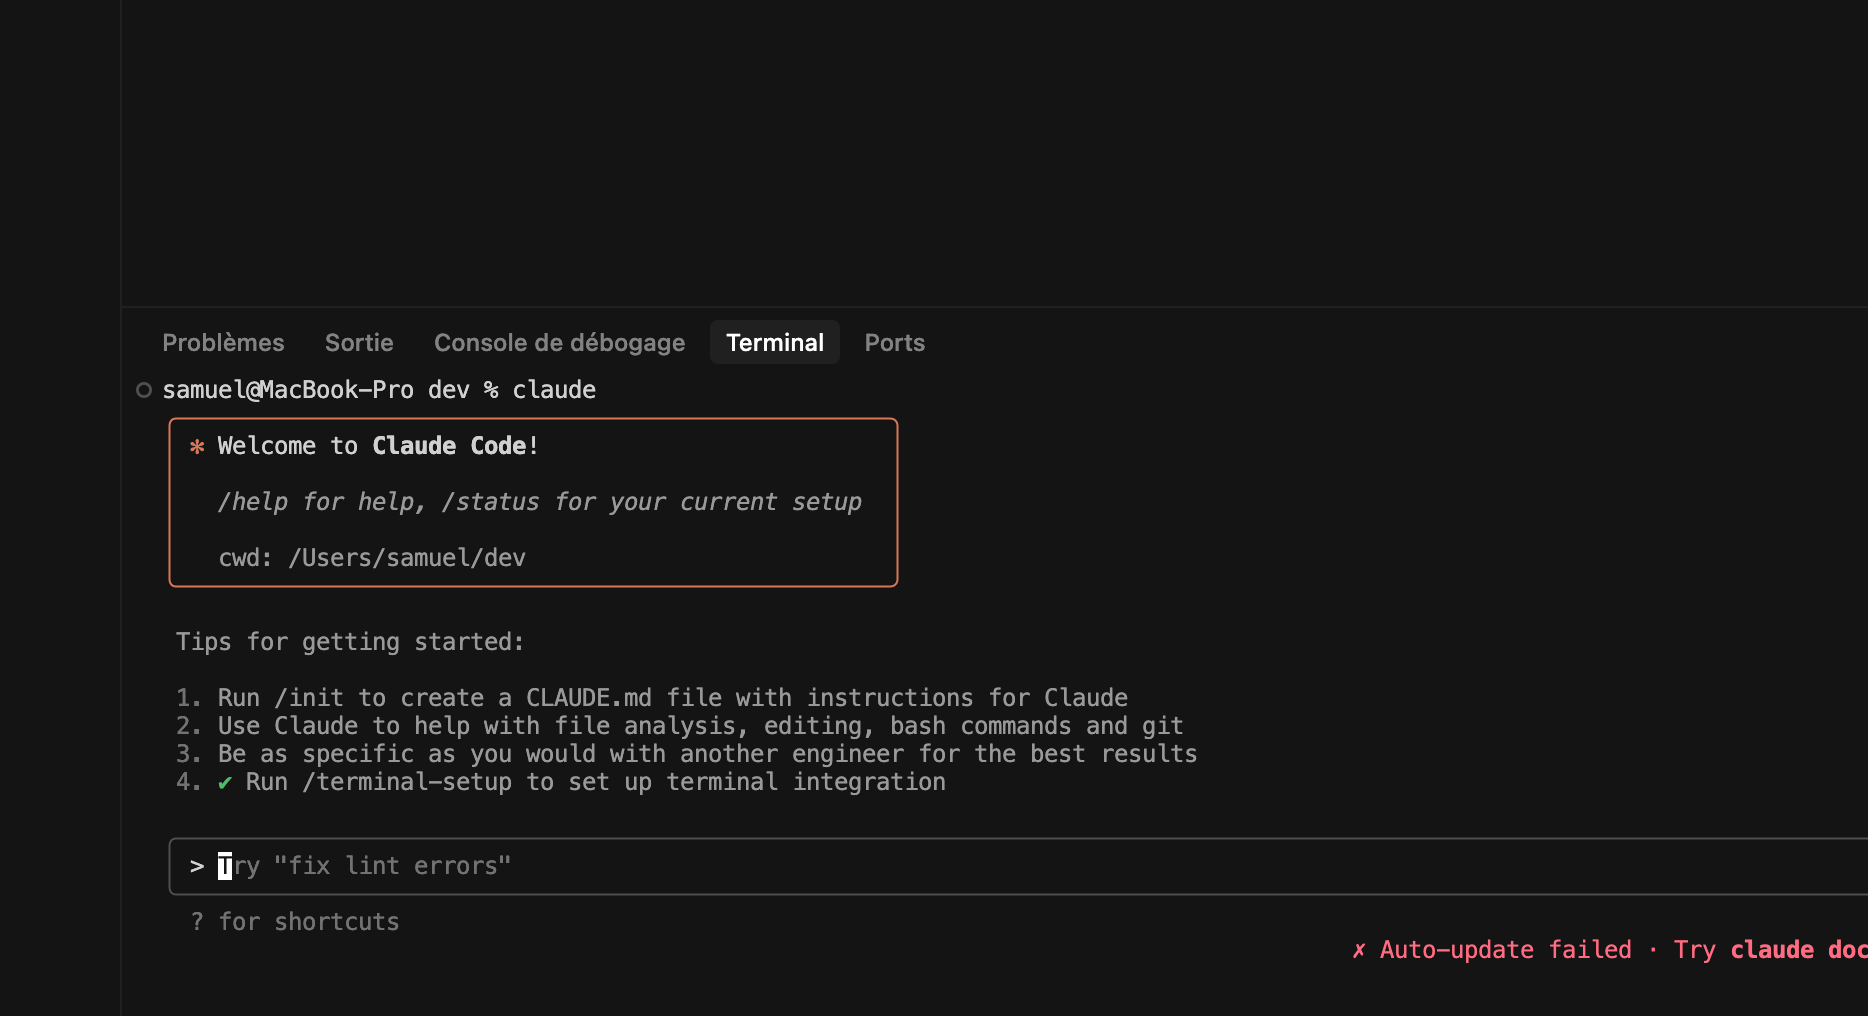
3. Launch Claude in Your IDE
Once installed, open the integrated terminal inside Cursor (or VS Code) and simply run: "claude"
This command starts the Claude Code terminal interface. On first launch, you’ll be asked to log in with your Anthropic account so the tool can connect to your subscription.
4. Initialize Your Project
Before you begin, you should initialize Claude Code for your repository. In the Claude terminal, type:
/init
This creates a CLAUDE.md file at the root of your project. Think of it as a memory file: you can use it to describe your project, coding conventions, build commands, or anything Claude should always keep in mind.
For example:
# CLAUDE.md Always use Tailwind CSS for styling
-- Run `npm run lint` before committing changes - Use Jest for testing
Claude will automatically load this file into context whenever you work on the project. You can also add additional CLAUDE.md files in subdirectories for more granular memory, or even keep a global file in ~/.claude/CLAUDE.md for preferences that apply across all projects.
5. Verify and Restart (if needed)
After the first run, Claude may auto-install an IDE extension. If you don’t see diffs opening correctly in Cursor, restart the IDE once to finalize the setup.
That’s it — you now have Claude Code running locally, connected to your IDE, and initialized with your project memory. From here, you can start using commands, tagging files, and letting Claude assist with your coding tasks.

💡 If this setup feels heavy and you’d prefer something that runs instantly in the cloud with no installation required, tools like Capacity make it possible to build and publish apps in just one click. But if you want the raw power of a local agent deeply tied to your IDE, Claude Code is worth the setup.
Using Claude Code in Daily Workflow
Once you’ve installed and initialized Claude Code, the real magic happens when you start using it in your day-to-day development workflow. Unlike autocomplete tools such as GitHub Copilot, Claude Code is a full coding agent that you interact with through commands, context management, and project memory.
Here’s how developers typically use it during a normal coding session:
Open a Claude Terminal
Inside Cursor (or VS Code), open the integrated terminal and run:
claude
This launches Claude Code in a dedicated panel. From here, you can treat it like a coding teammate: ask it to debug, refactor, generate tests, or explain parts of your project.
Automatic File Context
When you have a file open in your editor, Claude automatically pulls it into context. For example, if you’re editing AuthService.ts and type in the Claude terminal:
Fix the login flow to support JWT sessions
Claude will understand you’re working on AuthService.ts and propose the correct changes.
Tag Files with @
If you want Claude to consider additional files, just tag them with @. For example:
Update @AuthService.ts and make sure @UserController.ts is using the new methods
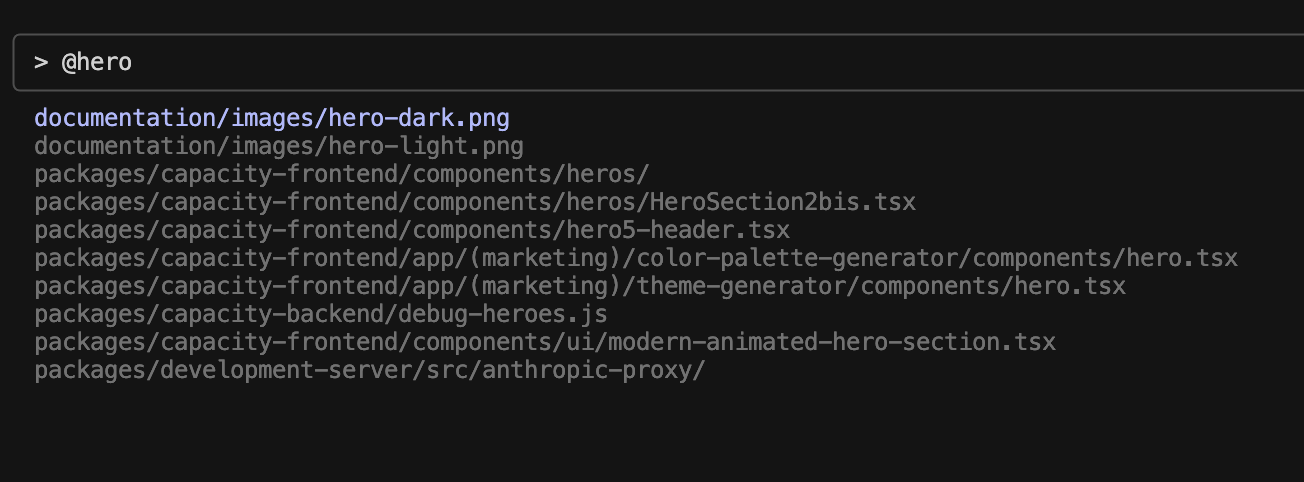
This is incredibly useful for multi-file tasks, like refactoring an API layer and updating the frontend code that depends on it.
Work in Multiple Panes
Claude Code supports multiple terminals (panes), meaning you can run different conversations in parallel. For example:
- Pane 1: Writing new tests for
CartService.ts - Pane 2: Refactoring
AuthService.ts - Pane 3: Debugging a query in
Database.ts
This makes Claude feel like several AI teammates working side by side.
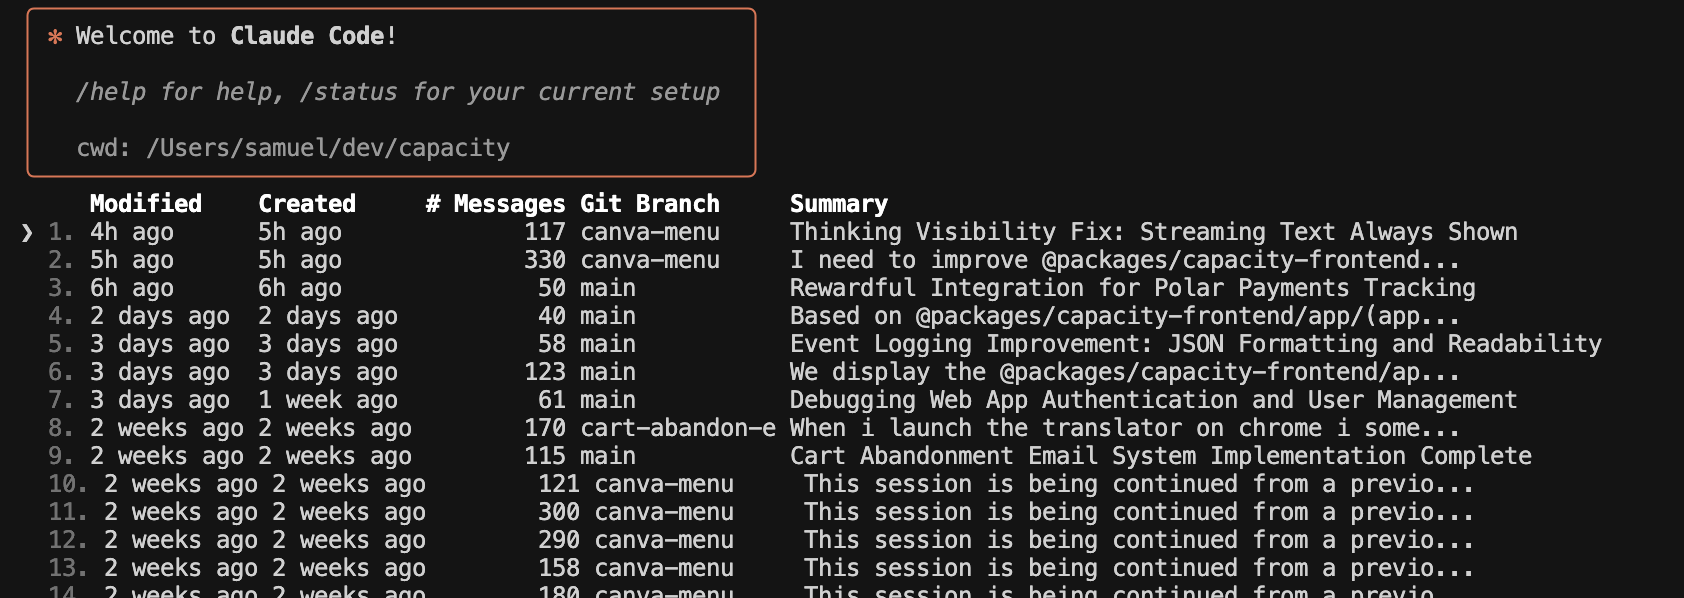
Resume Past Sessions
One underrated feature is the /resume command. If you close Claude Code and come back the next day, you can continue right where you left off:
/resume yesterday
Let’s keep working on the checkout flow from
Claude will reload the previous context and conversation, so you don’t waste time re-explaining what you were doing.
Clear When Starting Fresh
When starting a brand-new task, use /clear to reset the conversation:
/clear.ts
Write Jest unit tests for @CartService
This prevents old context from bloating the session and keeps responses focused.
Example Daily Workflow
Here’s what a realistic session might look like:
/resume
Refactor @PaymentProcessor.ts to handle failed transactionsAlso update @EmailService.ts to send a failure notification
/clearNow generate integration tests for @PaymentProcessor.ts
In less than five minutes, you’ve resumed yesterday’s work, completed a refactor across multiple files, and generated fresh tests — without leaving your IDE.
Why It Matters
This workflow highlights what sets Claude Code apart: it isn’t just generating code snippets, it’s managing context across files, sessions, and workflows. For developers working on complex projects, that reliability is a game-changer.
GitHub Integration
Install the Claude GitHub app, and it will:
- Review your pull requests automatically.
- Detect bugs and vulnerabilities.
- Add comments directly in PRs.
You can configure claude-code-review.yaml to make it concise and bug-focused.
Productivity Tips and Shortcuts
Claude Code is powerful out of the box, but once you know its hidden tricks, it becomes even more efficient. Here are the commands, shortcuts, and best practices that experienced developers rely on every day.
Switch Models with /model

Claude Code supports multiple Anthropic models, each with different strengths:
- Opus → the most advanced model, best for reasoning through complex code.
- Sonnet → faster and more cost-efficient fallback.
By default, Claude Code will use Opus until you hit 50% of your usage quota, then automatically switch to Sonnet. You can manually choose with:
/model opus
or
/model sonnet
Tip: Stick with the default unless you know you need maximum performance (Opus) or want to conserve tokens (Sonnet).
Start Fresh with /clear
Each time you start a new task, run: /clear
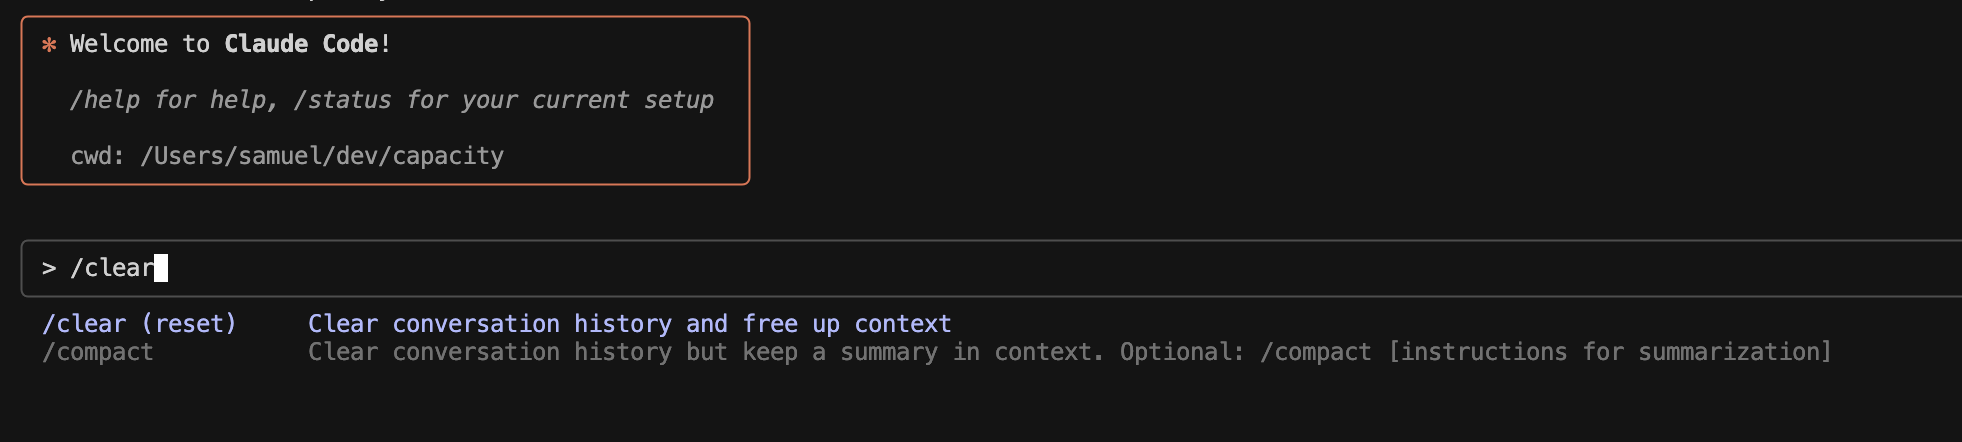
Why? Because Claude keeps conversation history in context. If you pile too many requests into one session, Claude spends time compressing old tokens, which can slow it down and introduce errors. /clear resets the slate so Claude can focus 100% on the new task.
Pick Up Where You Left Off with /resume
Working across multiple sessions? Claude has you covered. Use:
/resume
This reloads your previous conversation and lets you continue without re-explaining everything. Perfect for multi-day projects or long debugging sessions.
Add Files with @ Mentions
Want Claude to look at multiple files at once? Just tag them inline with @:
Refactor @AuthService.ts and update @UserController.ts accordingly
Claude will immediately pull those files into context. You can tag as many as you need, which makes cross-file edits seamless.
Queue Prompts for Later
Instead of babysitting Claude, you can queue multiple prompts in advance. For example:
Refactor @Checkout.tsx to simplify state management Also add integration tests for @Checkout.test.tsx
Claude will execute the first task, then move on to the second automatically. This is a huge time-saver if you tend to multitask.
Handy Keyboard Shortcuts
Claude Code’s terminal interface comes with some useful (and not always obvious) shortcuts:
Esc→ stop Claude’s current action.Esctwice → bring up previous messages and jump back to them.Shift + Enter→ add a new line (instead of sending the command).Ctrl + V→ paste images into the terminal (works even when Cmd+V fails on macOS).- Up Arrow → scroll through past commands, even across sessions.
Go Hands-Free with YOLO Mode
By default, Claude asks for permission before editing files or running commands. This is safe, but it can get repetitive. To skip the confirmations, run:
claude --dangerously-skip-permissions
It’s called “dangerous,” but in practice most developers report it’s fine. Just avoid it in sensitive environments.
Store Project Memory with CLAUDE.md
Don’t waste time repeating instructions. Use the /init command to create a CLAUDE.md file at the root of your project and write down persistent preferences:
- Always use Tailwind CSS for new components - Run `npm run lint` before committing - Follow Airbnb ESLint rules
Claude will read this automatically whenever you work in that repo. You can also keep per-folder or global memory files for maximum control.
Why These Tricks Matter
These commands and shortcuts aren’t just quality-of-life improvements — they’re what make Claude Code feel like a real teammate instead of just another autocomplete plugin. Used well, they save hours of repeated setup and keep your coding flow uninterrupted.
Advanced Features
Claude Code goes far beyond just suggesting code snippets. Its advanced features let you customize the agent, enforce your project’s conventions, and create reusable workflows. The two most powerful concepts are Hooks and Memory.
Hooks: Automating Pre- and Post-Edit Actions
Hooks allow you to define tasks that Claude automatically runs before or after it applies edits. This is useful for making sure all AI-generated code complies with your project’s standards.
Hooks live inside a .claude/hooks/ directory in your repo. Each hook is a small YAML or shell file describing when it should trigger and what command to run.
Common use cases include:
- Running Prettier before accepting edits.
- Running TypeScript type checks after edits.
- Running linting automatically on every modified file.
Example: Prettier hook
# .claude/hooks/prettier.yaml}}
on: before_accept
run: npx prettier --write {{file
This ensures that every file Claude edits is formatted before changes are applied.
Example: Type check hook
# .claude/hooks/typecheck.yaml
on: after_accept
run: npx tsc --noEmit
Here Claude verifies type safety automatically after committing edits.
By combining hooks, you can enforce your team’s entire CI/CD workflow right inside Claude, so the AI never introduces code that violates your rules.
Memory: Teaching Claude Your Project Conventions
Claude Code uses memory files (CLAUDE.md) to persist knowledge across sessions. Instead of repeating instructions like “use Tailwind for styling” every time, you can write them once and Claude will always respect them.
There are three levels of memory:
- Global Memory
- Stored at
~/.claude/CLAUDE.md. - Applies to every project on your system.
- Good for personal preferences (e.g., “prefer functional React components”).
- Stored at
- Project Memory
- Stored at the root of a repo:
/my-project/CLAUDE.md. - Used for team-wide conventions (e.g., “use Jest for testing,” “run ESLint before commit”).
- Stored at the root of a repo:
- Folder Memory
- Placed inside subdirectories, e.g.
/my-project/api/CLAUDE.md. - Lets you specify folder-specific rules (e.g., “use Zod for validation in API routes”).
- Placed inside subdirectories, e.g.
Claude will read all applicable memory files and merge them, giving priority to the most specific one (folder > project > global).
Example: Project-level CLAUDE.md
# CLAUDE.md Always use Tailwind CSS for styling
-- Use Jest with `describe`/`it` format for tests - Run `npm run lint` before committing
With this in place, you don’t need to remind Claude about your conventions — it will already know them every time you open the project.
Custom Slash Commands
Beyond hooks and memory, Claude lets you create custom slash commands inside .claude/commands/. Each command is written in plain text or Markdown and acts like a reusable prompt.
For example:
# .claude/commands/tests/add-unit.md
Generate unit tests using Jest for the given file.
Cover both success and failure cases.
Now you can run inside Claude:
/tests add-unit @CartService.ts
Claude will generate a consistent set of unit tests based on your saved instructions.
You can organize commands by subfolders to group them by purpose (/tests, /docs, /deploy, etc.).
Claude Code for Large Codebases
Claude Code shines with huge projects.
Unlike Cursor or Copilot, Claude:
- Can reliably edit files with 10,000+ lines.
- Doesn’t crash on monorepos.
- Understands complex relationships between components.
If you’ve ever had Cursor rewrite entire files just to apply a patch, you’ll appreciate Claude’s precision.
Pricing: Is Claude Code Worth It?
Like most developer tools today, Claude Code is offered as part of Anthropic’s subscription plans. The pricing is simple and designed to make high-quality AI coding assistance accessible whether you’re an individual developer or part of a larger team.
Plans and Pricing
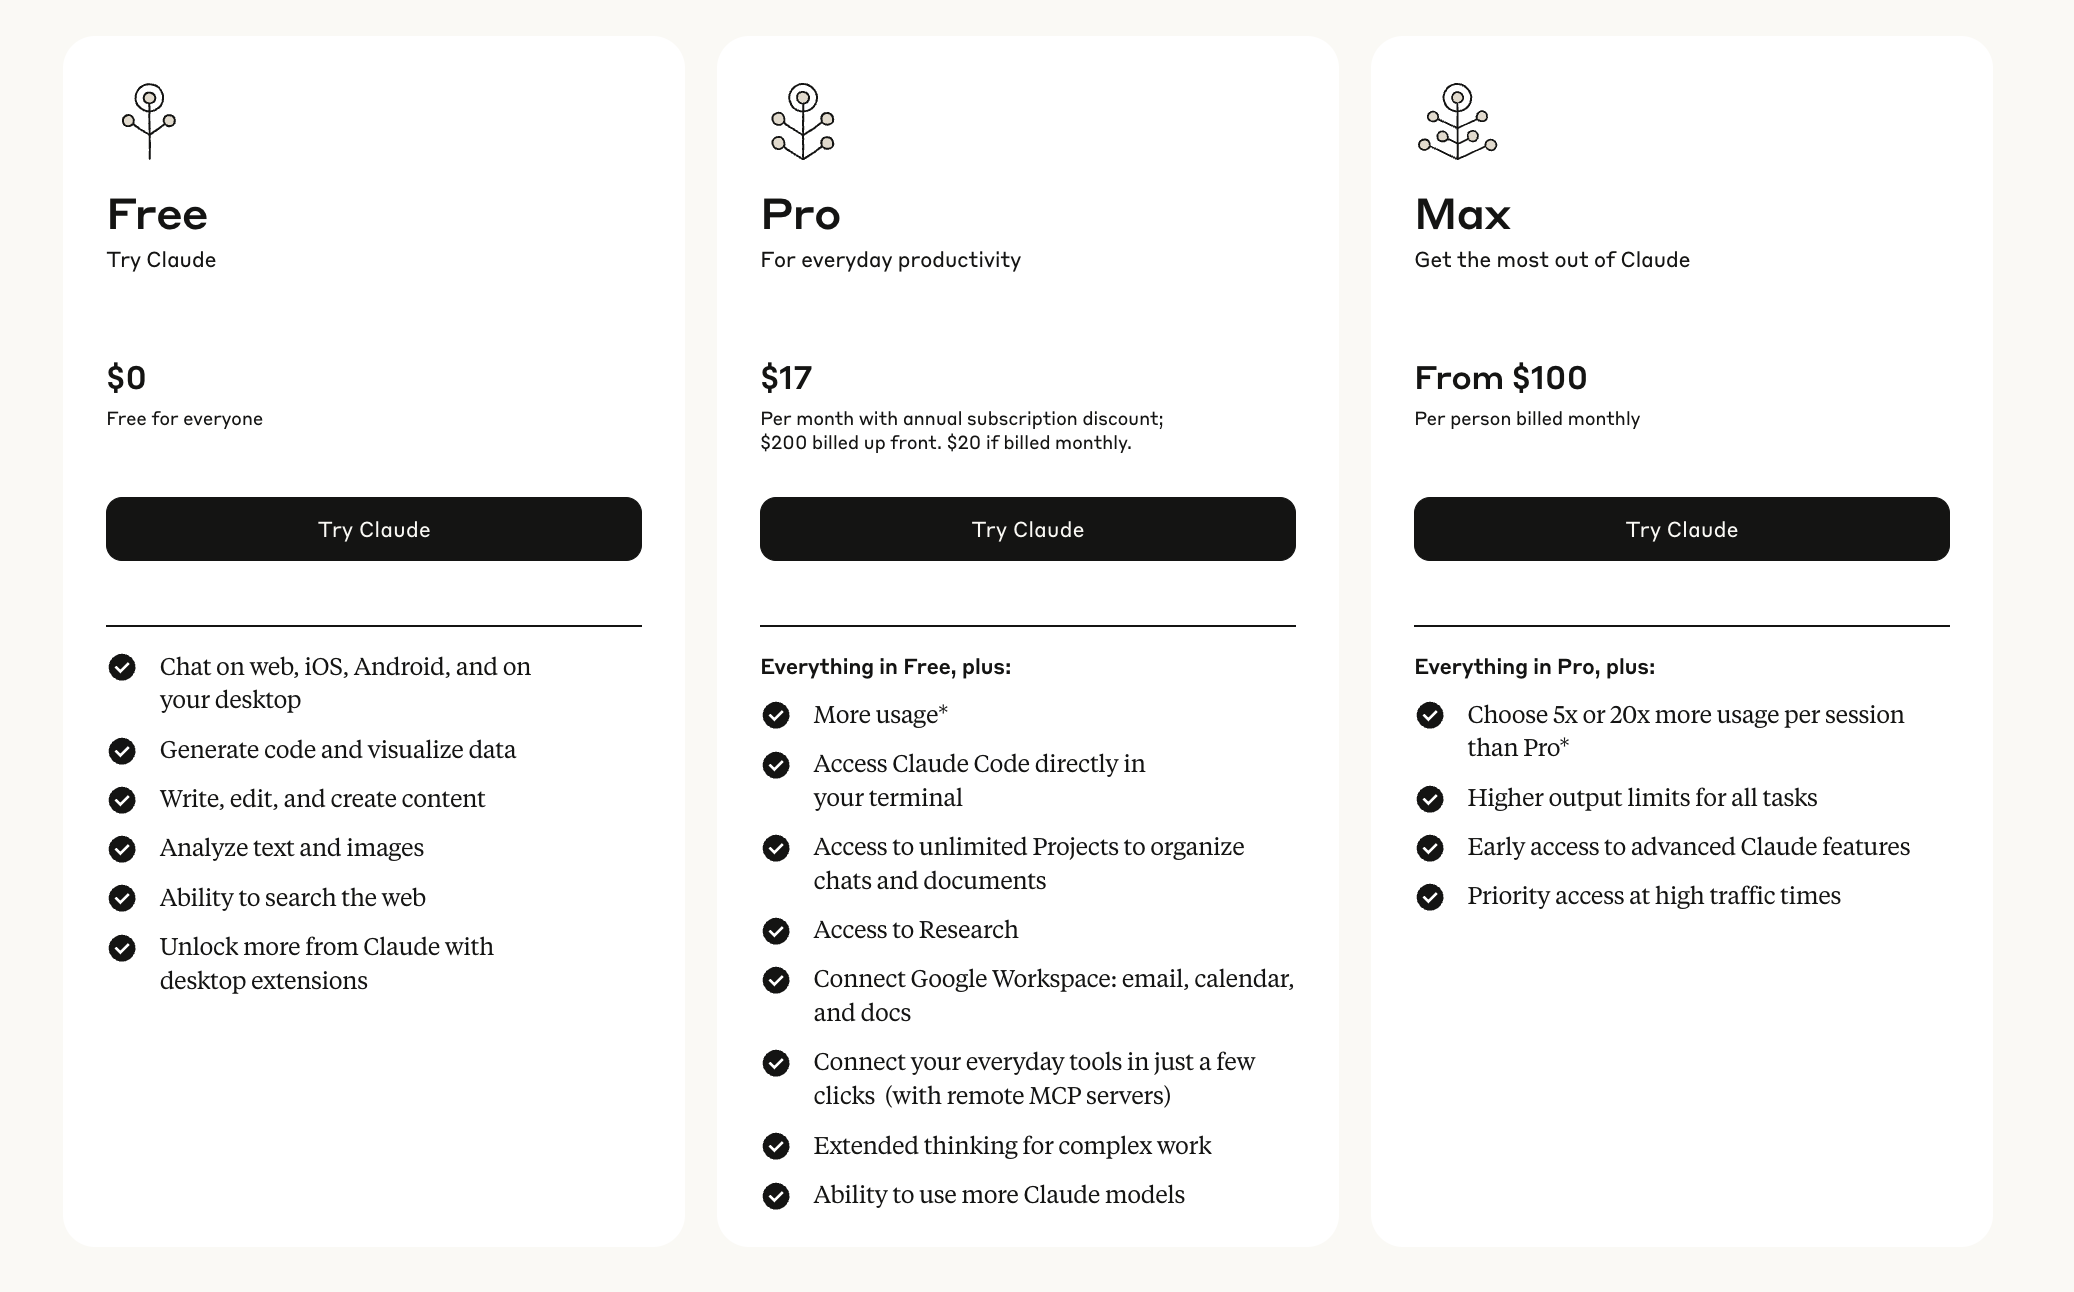
- Pro Plan – This is the affordable entry point. You get access to Claude Code with generous usage limits, including Anthropic’s fast and reliable Sonnet model. For many solo developers or hobby projects, Pro offers plenty of power.
- Max Plan (around $100/month) – This is where Claude Code really shines. Max includes priority access to Opus, Anthropic’s most advanced reasoning model. With Max, you’re effectively getting an AI teammate that can handle extremely large files, navigate complex codebases, and manage multi-step workflows with ease.
For developers working on production apps or enterprise-scale projects, Max is by far the best value.
Value Compared to Human Costs
At first glance, $100/month might seem like a premium subscription. But when you compare it to the cost of a developer’s time, it quickly becomes obvious that Claude Code pays for itself after just a few tasks.
- A skilled engineer costs anywhere from $50 to $100 per hour.
- If Claude saves you even two hours of debugging or writing boilerplate code per month, you’ve already broken even.
- For teams, the savings multiply, especially when Claude is used to automate code reviews, unit tests, and repetitive refactors.
Put differently: having Claude Code at your side is like hiring a junior developer who works 24/7, doesn’t get tired, and costs less than a single hour of human work per month.
Who Should Invest in Max?
- Solo founders and indie hackers who want to ship faster without hiring.
- Teams with large codebases that need reliable navigation and refactoring.
- Enterprises that want consistent AI code reviews and enforced standards.
If you’re just exploring AI coding assistants, the Pro plan is a good way to start. But if you depend on Claude daily, the Max plan is an absolute no-brainer.
Claude Code vs Alternatives
Here’s a quick breakdown:
| Feature | Claude Code | Cursor | Copilot |
|---|---|---|---|
| Large file support | ✅ Excellent | ⚠️ Limited | ❌ Poor |
| Slash commands | ✅ Yes | ❌ No | ❌ No |
| GitHub PR reviews | ✅ Built-in | ❌ No | ❌ No |
| Price efficiency | ✅ High | ⚠️ Medium | ✅ Low |
| Best for | Large projects | UI-driven workflows | Quick autocomplete |
If you want reliability and deep codebase navigation, Claude Code wins.
Common Issues and Fixes
- Permission prompts too frequent? → Run
dangerously-skip-permissions. - Claude too verbose in PR reviews? → Edit
claude-code-review.yamlto only report bugs. - Lost your conversation? → Use
/resumeto reload a previously closed conversation. - Image pasting not working? → Use
Ctrl + Vinstead ofCmd + Von Mac.
FAQs
What is Claude Code?
An AI coding assistant built by Anthropic that runs inside your terminal/IDE.
How do you install Claude Code?
Install the extension for VS Code, Cursor, or Windsurf, then launch Claude in your IDE terminal.
What models does Claude Code use?
Claude Opus (best reasoning) and Claude Sonnet (cost-efficient).
Is Claude Code better than Copilot?
Yes, especially for large files and complex tasks. Copilot is great for inline autocomplete, but Claude Code excels at deep refactors and multi-file edits.
How much does Claude Code cost?
The Max plan is around $100/month, far cheaper than hiring developers for the same tasks.
Can Claude Code review my pull requests?
Yes. Install the GitHub app, and Claude will automatically comment on PRs.
Conclusion
Claude Code is more than a code autocomplete tool — it’s a serious AI teammate. From handling huge codebases, automating PR reviews, to letting you resume past conversations with /resume or load files with @filename, it gives developers speed and reliability that other tools lack.
If you’re serious about productivity, now you know exactly how to use Claude Code in your workflow.
👉 And if you want to take it one step further, try Capacity.so — the easiest way to turn ideas into working web apps. Pair Capacity with Claude Code, and you’ll build faster than ever before.